004 • Metor shower effect
August 19, 2023
Share
Tutorial
We can create the meteor shower effect in two ways, but we'll get to them a little later. Let's start by making the effect look natural and smooth. At first it may seem a bit tricky to create this effect, but rest assured, we will use simple maths and it will be ok.
<You can skip this step and go with the numbers I've tested>.
We need to choose the right angle for our meteors to move at based on the dimensions we know (width and height).
Now, for some quick math: we need to calculate the angle α between the adjacent side along the x-axis and the opposite side. We know the lengths of both the adjacent sides, x and y, so we can calculate the α angle.
tg(α) = x / y -> α = arctg(x / y)
We substitute x, y and use a calculator that has an inverse tangent function (arctg) to find the value of the angle α. However, the result will be in radians, but we want the result in degrees, so we need to convert radians to degrees. A full rotation is 2π radians, which is equivalent to 360 degrees, so:
α rad * (360° / 2π) = α degrees.
We now have all the data we need, which we can use in the next step.
<Here to start if you skipped the calculation step>.
For me, an angle of 22.6 degrees, height: y and width: x = y * 2.4 works best.
1. The no-code solution
To achieve this effect, we can utilize the "loop" effect. However, before we begin, we should create our meteor and convert it into a component for easier future editing. Once we have our meteor component prepared, follow these steps:
Set the component's position to "absolute" and position it outside the window. Additionally, apply a rotation of 22.6° (or your preferred angle).
Now, let's proceed with creating the animation using the "loop" effect. Configure the effect's properties as follows:
Type: Loop
Delay: adjust to your requirements
Opacity: 0
Scale: adjust to your requirements
Rotate: 0
Offset: x, y (in my case 780, 325)
-> Transition:
Ease: adjust to your requirements - In my case Ease Out
Time: adjust to your requirements, less time = faster moving meteor
Delay: adjust to your requirements
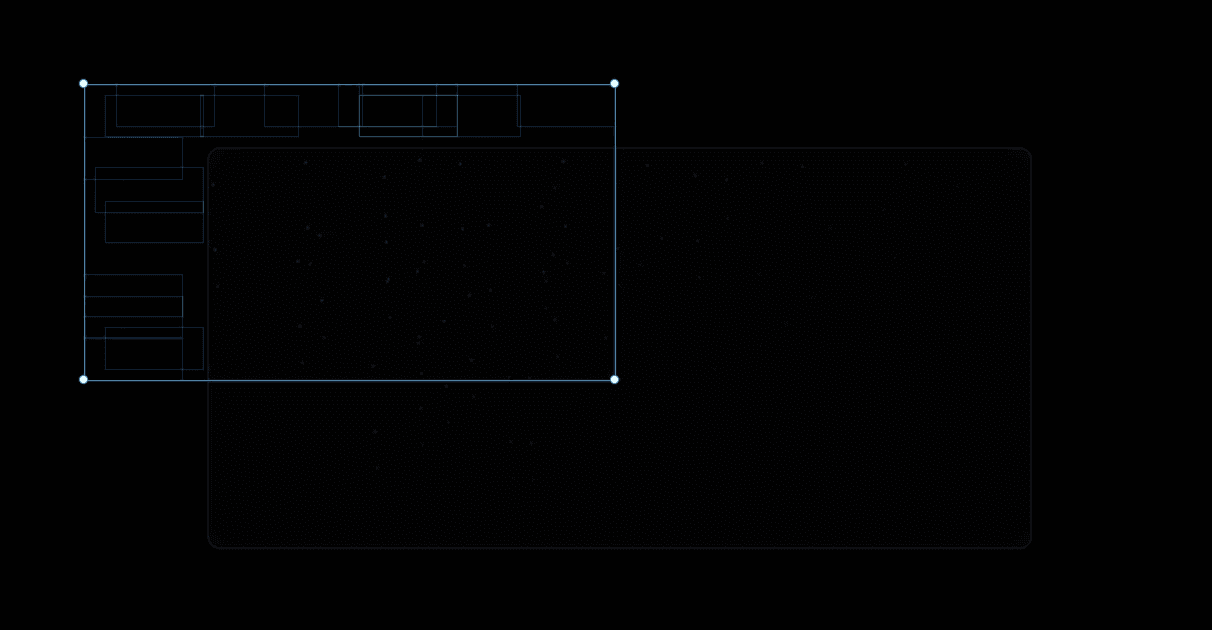
Duplicate the meteor component and arrange the duplicates as desired. Modify the loop effect settings for each individual component to match your specifications. In my case, the meteors are arranged in the following pattern
To get the best effect, I recommend experimenting a little with the position of the component and properties of the loop effect.
2. The low-code solution
We create the meteor component in a similar manner as the no-code solution. Setting its position to 'absolute,' we initially position it outside the window. We then duplicate and reposition it as needed. After selecting all the meteors, we can optimize our workflow by applying a code override. This helps expedite the animation configuration using randomized values.
Copy the code and paste it as code override. The effect should be ready, run the preview and savour the result.🫶
Questions?
Newsletter
Thanks
for
watching!
Sign
up
to
newsletter
and
receive
updates
on
new
Framer
tips
& freebies.
